
Create a Marker Text Effect in Illustrator Envato Tuts+ Design & Illustration Tutorial
About Press Copyright Contact us Creators Advertise Developers Terms Privacy Policy & Safety How YouTube works Test new features NFL Sunday Ticket Press Copyright.

Create a Marker Text Effect in Illustrator Tuts+ Design & Illustration Tutorial Learn
12 Free Wax Crayon Effect Brushes for Illustrator. A collection of bright and colorful brushes for Illustrator. This bundle includes 12 wax crayon brushes you can use to paint, draw, and add texture.. Free 24 Marker Pen Brushes for Illustrator. A set of marker pen brushes for creative projects. This pack comes with a set of 24 brushes in 6.

Marker Illustrator Brushes by LeoSupply on Envato Elements Illustrator brushes, Markers, Brush
Step 1: Set up your Illustrator document Start with a print document of 8.5 x 11″. Make sure to change the color space to RGB. Step 2: Import the reference photo Import the photo you will be using as a reference (File > Place). In this tutorial, I used this portrait by Lillian Bertram.

Marker Effect in Illustrator YouTube
In the tutorial that follows we show how to create an illustration of a text marker or highlighter. For the lesson it takes intermediate vectorial skills, shape and construction in
Marker Brush Illustrator ubicaciondepersonas.cdmx.gob.mx
Step 1 Create a 700px by 630px, RGB document. First, turn on the Grid (View > Grid) and the Snap to Grid (View > Snap to Grid). Next, you'll need a grid every 2px. Go to Edit > Preferences > Guides & Grid, enter 2 in the Gridline every box and 1 in the Subdivisions box.

FileSharpiemarkertypes.jpg Wikimedia Commons
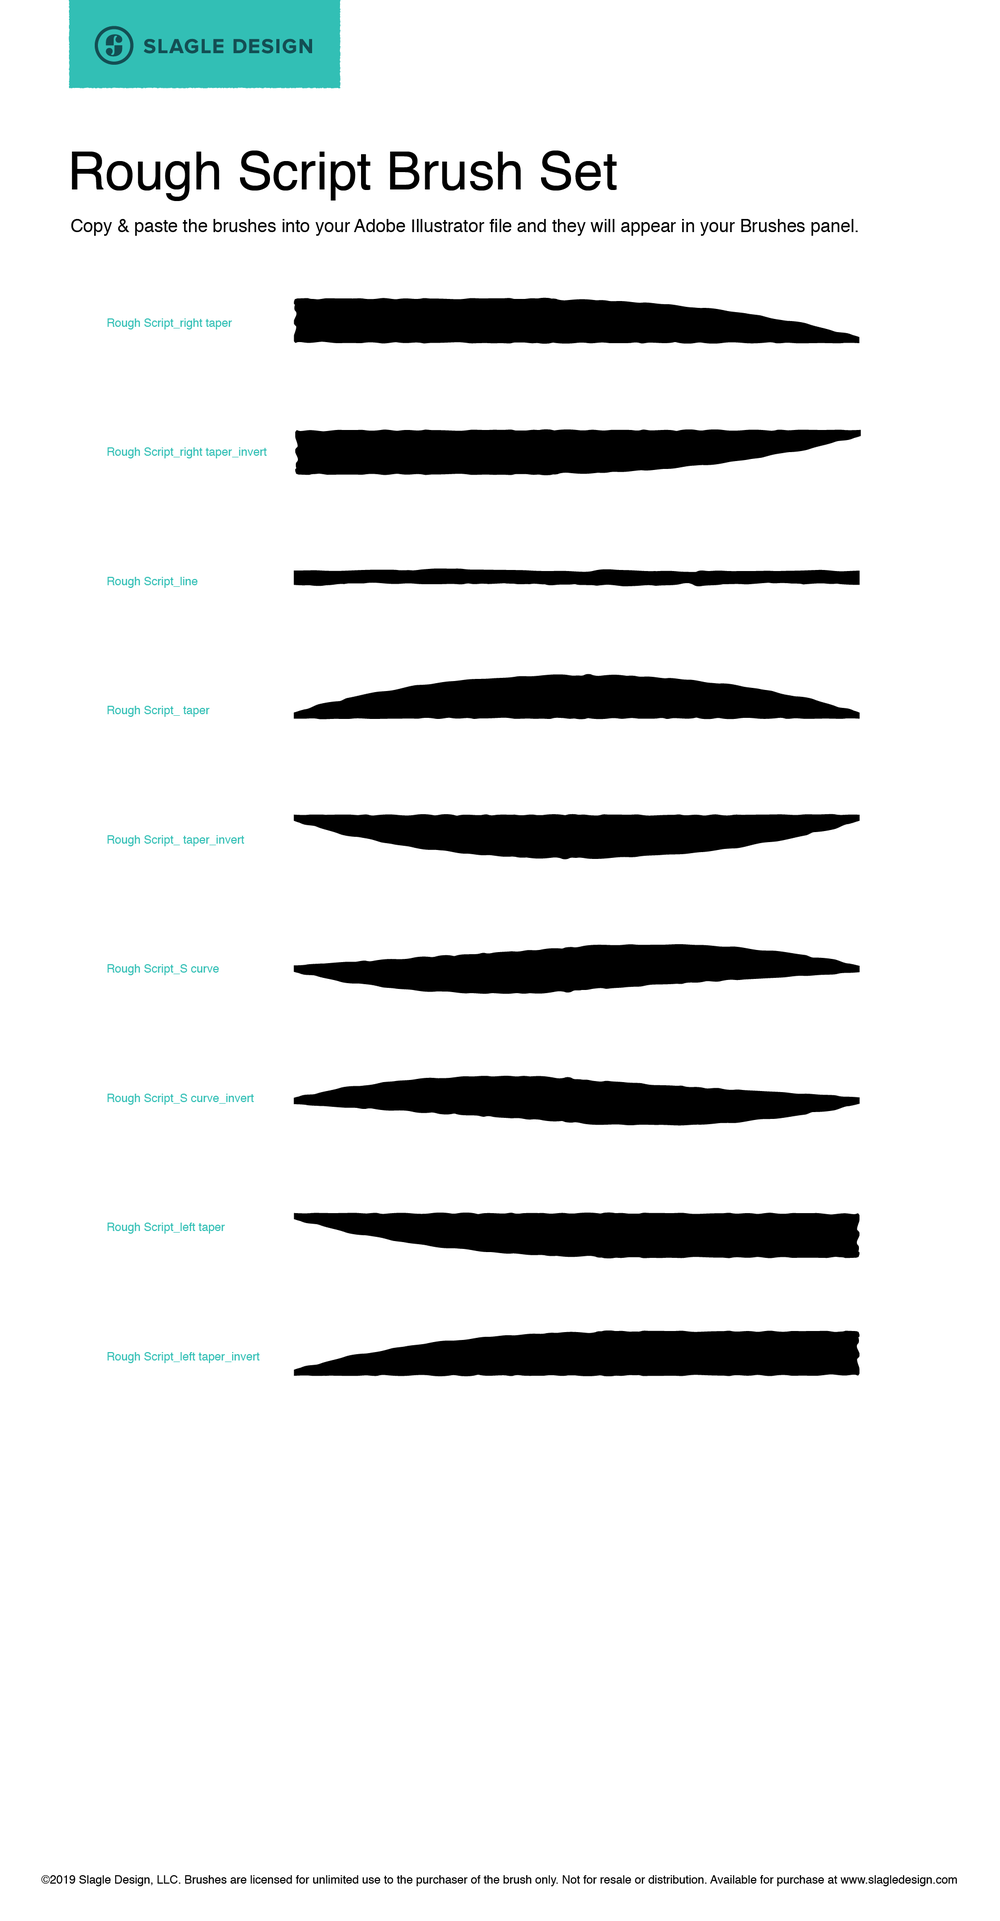
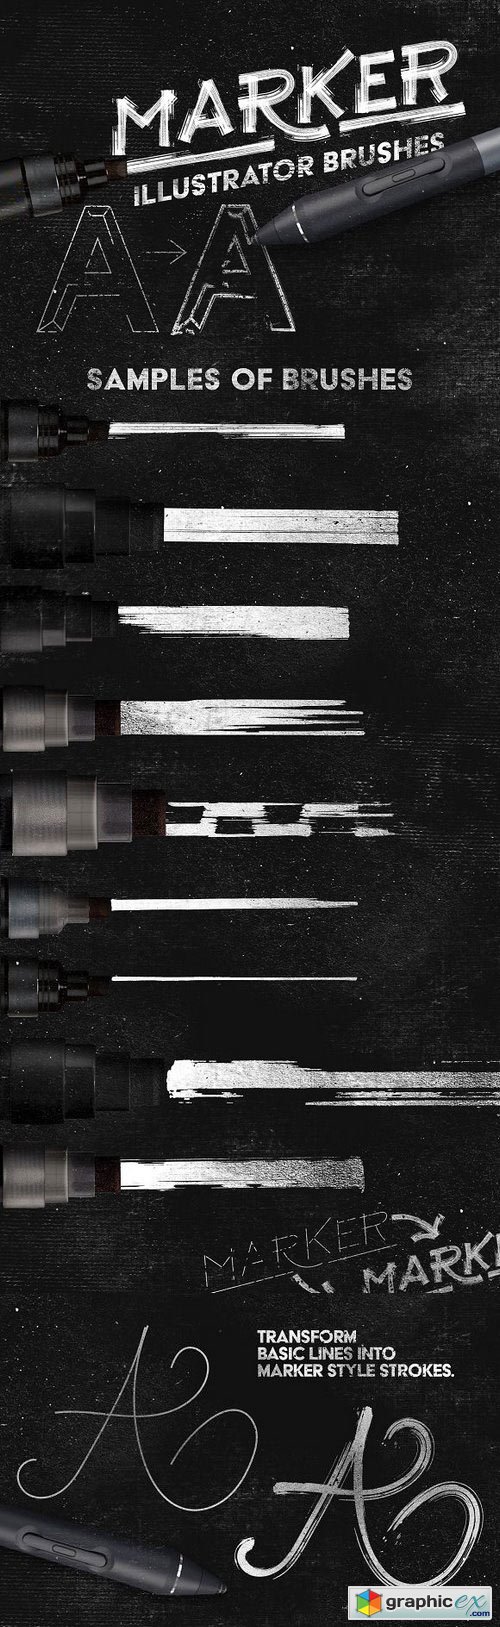
This set of Marker Pen Brushes for Adobe Illustrator contains 24 art brush presets, split into six groups of Outline Markers, Medium Markers, Thick Markers, Broad Markers, Messy Markers and Scribble Markers.

FREEBIES 25 REAL MARKERS FOR ILLUSTRATOR on Behance
3 Answers Sorted by: 8 Illustrator ships with several nice brushes. If you choose Open Brush Library > Artistic > Artistic_ChalkCharcoalPencil from the Brush Panel menu, several pencil-like brushes will load. From there, using a brush to draw whatever it is you want and applying one of the brushes should give you a pencil-like line.

Marker Illustrator Brushes
This tutorial will show you how to create a realistic hand drawn effect in Illustrator. Ideal for those without scanners, or for when you already have the graphic you want in Illustrator but need to give it a convincing hand drawn effect (without attempting to recreate it with pen and paper). Step 1

75 Inking Pen and Marker Brush for Illustrator Illustrator brushes, Illustration, Vector brush
Using these graphic styles, you can create a retro text effect in Illustrator in a few seconds. You have 15 styles to choose from and apply to any type of text. Once applied, the text remains editable, giving you the possibility to adjust it whenever you may need. It's also possible to apply these styles to shapes.
Marker Illustrator Brushes » Free Download Vector Stock Image Icon
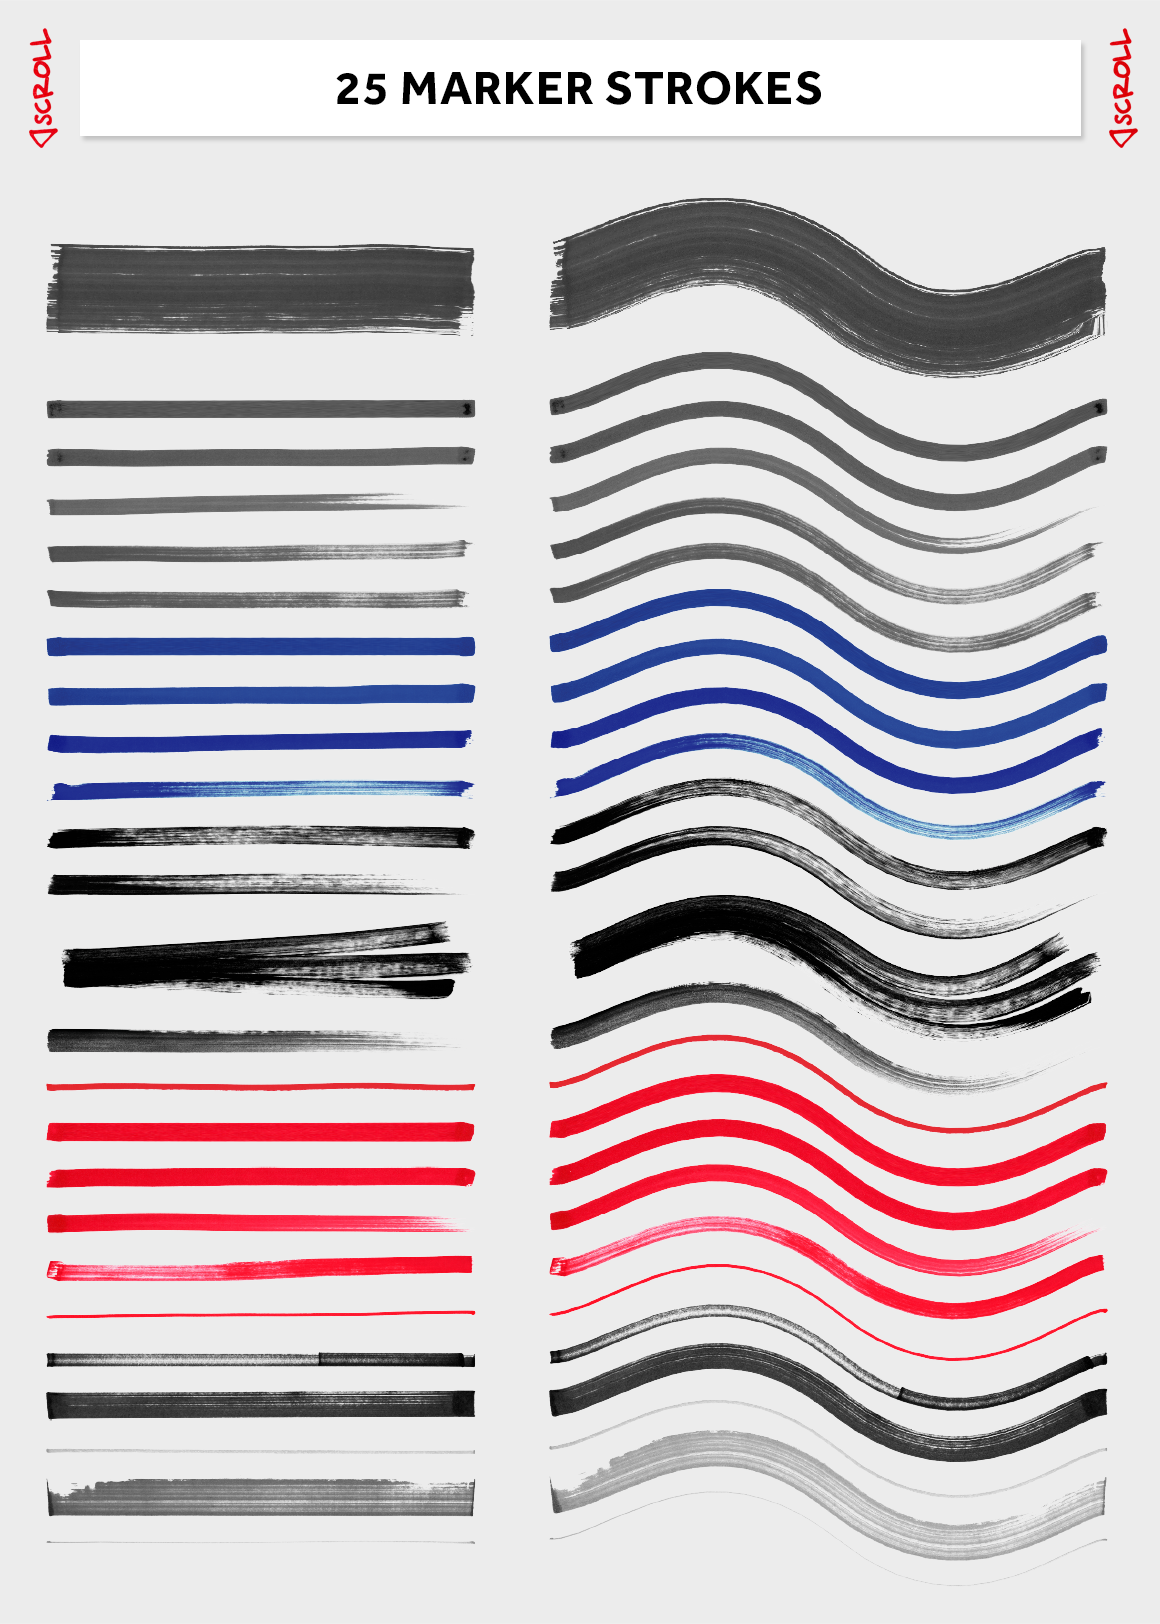
Download this free set of 25 realistic marker brushes for Illustrator. These markers were scanned in 2400 dpi, then cleaned, gently sharpened, released from boring white pixels, separated on layers then taken back to original size with 300 dpi which provides maximum information at a handy scale. Afterwards imported to the Adobe Illustrator.

Pin by caren kie regio on good design Text effects, Illustration, Markers
2 Correct answers Monika Gause • Community Expert , Jun 13, 2023 Don't save it as EPS. Save it as AI with PDF compatibility. Then place into InDesign. Make sure in the import options that background is transparent. Then transparency will be preserved. 1 Upvote Translate Jump to answer Yusuf Burak Bilge • Explorer , Jun 13, 2023 Thank you so much.

Create a Marker Text Effect in Illustrator
Make some marker marks (though to me that looks like a brush pen), scan them in, in photoshop duplicate change their levels for different opacities and variation then bring them into illustrator, live trace the photo in grayscale and make the individual chunks into brushes.

Illustrator Markers Single Colours Illustrator Markers Spectrum Noir Brands
This is 25 ESSENTIAL MARKERS FOR ADOBE ILLUSTRATOR CS6 AND ABOVE! These markers were scanned in 2400 dpi, then cleaned, gently sharpened, released from boring white pixels, separated on layers then taken back to original size with 300 dpi which provides maximum information at a handy scale.

13 Marker Textures PreDesigned Graphics Creative Market
To create a graph point design from a shape, select it and then choose Object > Graph > Design. This is the same dialog box you use to create the custom graph columns. Tip: In a project where you've created a lot of custom graph design elements you might have a mixed list of custom column designs as well as points.
West Coast Office Supplies Office Supplies Writing & Correction Markers & Dry Erase
Step 4. Hit Enter with the Paintbrush Tool ( B) selected and you can check out the options of the tool that have some effect on the brush you've created as well. In this case, I've kept the Fidelity to Smooth so my paths are as fluid and clean as possible. 2. How to Use the Round Brush Options. Advertisement.
FREEBIES 25 REAL MARKERS FOR ILLUSTRATOR on Behance
In the following tutorial, we'll show you how to create a marker board illustration using basic shapes, the Pathfinder and Appearance panel within Adobe Illustrator. This is a great tutorial for those who aren't comfortable with the Pen Tool and wish to learn some advanced techniques. Step 1 Hit Command + N to create a New document.